Expert Tips for Gravel Road Installation
- dimtzservicesllc
- Feb 16
- 4 min read
Updated: Mar 3
Installing a Gravel Road: Expert Tips for Homeowners in the DFW Area
Installing a gravel road is a smart choice for many properties. It offers durability, good drainage, and a natural look. To get the best results, you need to follow the right steps. I will share expert tips for a successful gravel road setup. These tips will help you avoid common mistakes and ensure your road lasts for years.
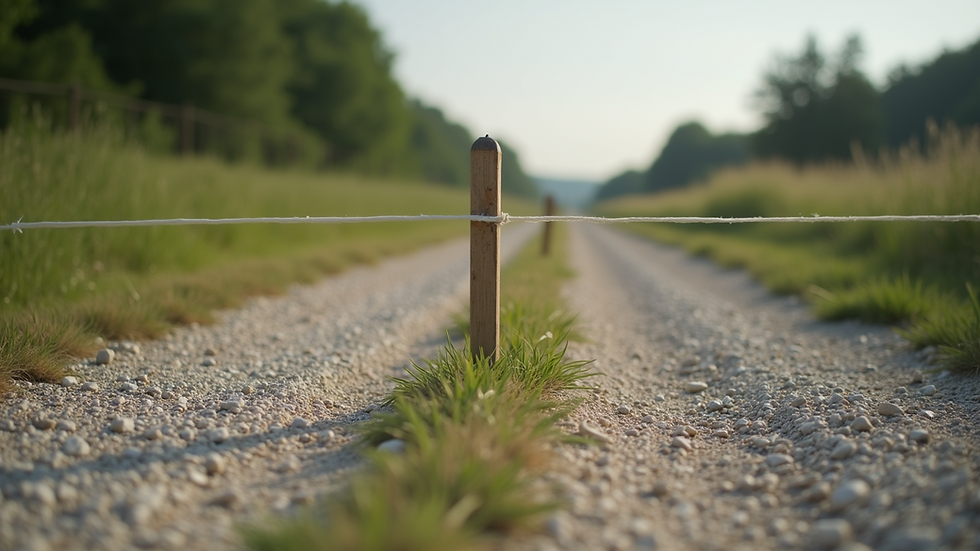
Planning Your Gravel Road Setup
Before you start, plan carefully. The planning phase sets the foundation for the entire project. First, decide the road’s location and length. Mark the path clearly. Check the slope and drainage. Proper drainage prevents water damage and potholes.
Next, choose the right type of gravel. Not all gravel is the same. For roads, crushed stone or gravel with sharp edges works best. It locks together and forms a solid surface. Avoid round river rocks. They shift easily and cause instability.
Also, consider the road’s width. A standard gravel road is about 12 to 16 feet wide. This width allows two vehicles to pass comfortably. If you expect heavy traffic or large vehicles, increase the width accordingly.
Finally, check local regulations. Some areas require permits or have rules about road construction. Make sure you comply to avoid fines or delays.
Preparing the Ground for Gravel Road Setup
Ground preparation is key to a strong gravel road. Start by clearing the area. Remove grass, roots, and debris. This prevents future road damage and uneven surfaces.
Next, excavate the soil to a depth of 6 to 12 inches. The depth depends on soil type and expected traffic. Soft soil needs deeper excavation. Use a skid steer or excavator for large areas.
After excavation, compact the soil. Use a plate compactor or roller. Compaction reduces soil movement and settling. It creates a firm base for the gravel.
Then, add a layer of geotextile fabric. This fabric separates the soil from the gravel. It stops gravel from sinking into the soil and mixing with dirt. This step extends the road’s life.
Finally, add a base layer of larger crushed stone. This layer should be 4 to 6 inches thick. Compact it well. The base layer provides strength and drainage.

Choosing the Right Gravel for Your Road
Selecting the right gravel is crucial. Gravel comes in many sizes and types. For a road, you want a mix that compacts well and drains water.
Start with a base layer of 1.5 to 3-inch crushed stone. This layer forms the road’s foundation. It should be angular, not rounded, to lock tightly.
Next, add a middle layer of smaller gravel, about 0.75 to 1.5 inches. This layer fills gaps and adds stability.
Finally, top with a layer of fine gravel or stone dust. This layer smooths the surface and helps bind the gravel together.
Avoid using pea gravel or smooth river rock. These do not compact well and can cause the road to shift.
Mixing different sizes of gravel creates a strong, stable road. It also improves drainage and reduces dust.
Installing and Compacting Gravel Layers
Proper installation and compaction are essential. Spread each gravel layer evenly. Use a rake or grader to level the surface.
After spreading, compact the gravel. Use a vibratory plate compactor or roller. Compacting each layer before adding the next ensures a solid road.
Work in layers. Do not add all gravel at once. Compacting in layers prevents settling and potholes.
Check the road’s slope. It should have a slight crown in the center. This shape helps water run off to the sides.
Maintain the road regularly. Add gravel and re-compact as needed. This keeps the surface smooth and durable.
Maintaining Your Gravel Road Setup
Maintenance keeps your gravel road in good shape. Inspect the road after heavy rain or snow. Look for potholes, ruts, or washouts.
Fill potholes promptly. Remove loose gravel and dirt. Add fresh gravel and compact it well.
Control dust by applying water or dust control products. This improves driving comfort and reduces gravel loss.
Keep drainage ditches clear. Blocked ditches cause water to pool on the road, damaging the surface.
Regrade the road every few years. This restores the crown and smooths the surface.
Regular maintenance saves money. It prevents major repairs and extends the road’s life.
Why Choose Professional Gravel Road Installation?
While DIY is possible, professional help ensures quality. Experts have the right equipment and experience. They know how to prepare the ground, select materials, and compact layers properly.
For a reliable and long-lasting gravel road, consider gravel road installation. Professionals deliver safe, efficient work. They handle permits and local regulations. This saves time and stress.
Choosing a trusted contractor like DIMTZ Services LLC means you get a road built to last. Their family-owned business focuses on quality and customer satisfaction in the DFW area.
Conclusion
Following these expert tips will help you build a strong, durable gravel road. Plan carefully, prepare the ground well, choose the right gravel, install layers properly, and maintain regularly. This approach ensures your gravel road setup stands up to weather and traffic for years to come.
Investing time in proper installation and maintenance will pay off. A well-constructed gravel road enhances your property’s value and usability. Make the right choices today for a lasting road tomorrow.


Comments